Putting it Together
After buying all the hardware to build your car computer. It's a challenge to put it all together in a format that won't be damaged in a moving car.
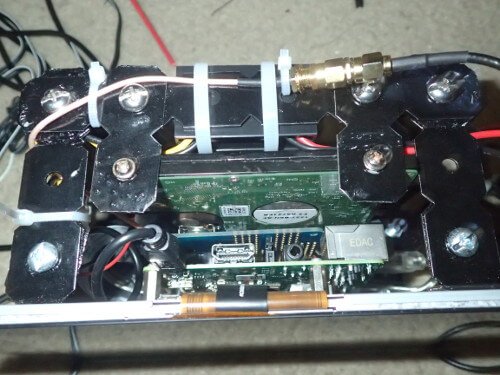
The Official Raspberry Pi touch screen has holes drilled into the back of the screen housing. So they make a great starting point for holding everything together.
The ones near the center allow the Raspberry Pi to piggyback the screen itself. There are then threaded holes closer to the corners that I decided to attach a frame of sorts and build backwards.
Just a word of advice if you decide to follow the same path and screw your framework into the back of the screen. Tighten the screws in really gently! If you overtighten the screen will start to push out the opposite side. So just go very slow and be careful!

Now there is somewhere to mount the housing you just need to decide what you are going to decide what you are going to use to house it.
At the hardware store I found some thin metal strips and angle brackets with predrilled holes. So I decided to create a frame using them as they can easily be bolted together.

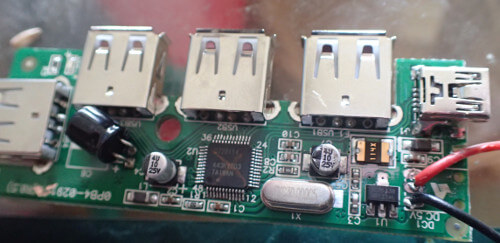
This approach is cheap, sturdy and provides lots of handy mount points for holding peripherals (usb hub, external dongles etc) in place.
Commercially available Double Din housings are available to mount devices in the dash. But I still believe it's probably easiest to build the frame around the Pi and then bolt the frame to the housing to hold things in place.


